Showing posts with label collaborative structures in social studies. Show all posts

Thursday, March 5, 2020

Ten Ways to get Kids to Talk About Content

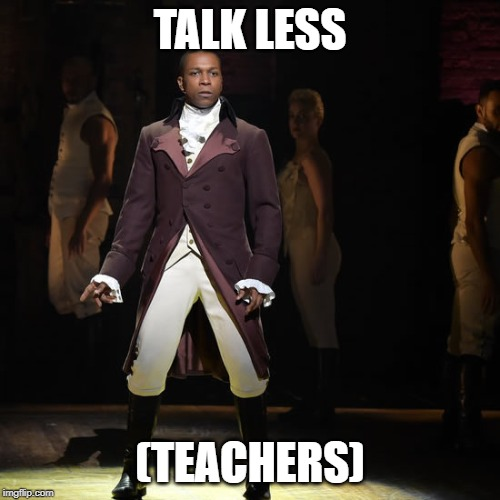
Ten Ways to Get Your Kids to Talk About Content (and not about other stuff)


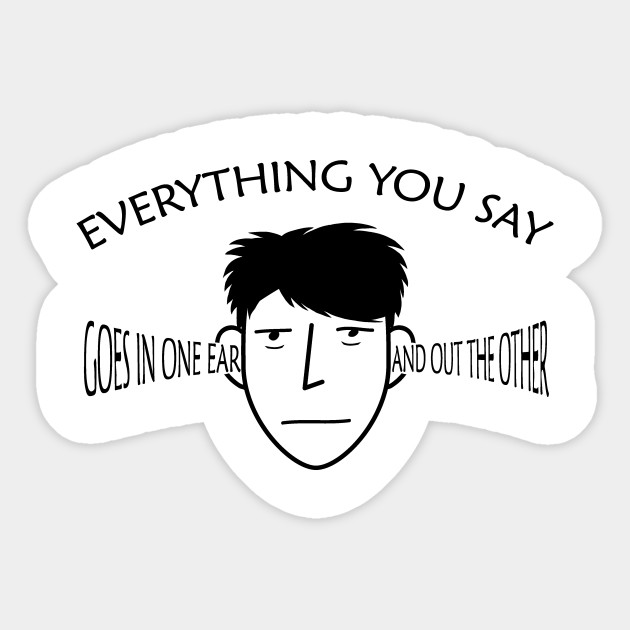
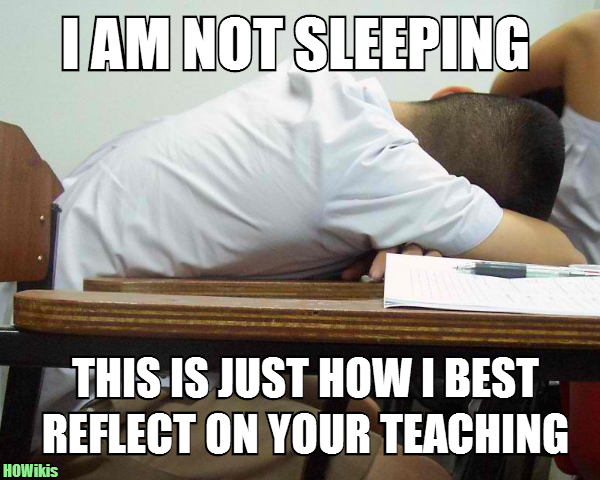
Teachers talk too much, myself included (I apologize to everyone in every PD I have ever facilitated). We know that LISTENING is not the best way to learn. It doesn't help us process information. Listening alone is what makes content go in one ear and out the other. 

In order to make content stick, you have to DO something with it. No, not YOU-the-teacher. The KID has to do something with it. 

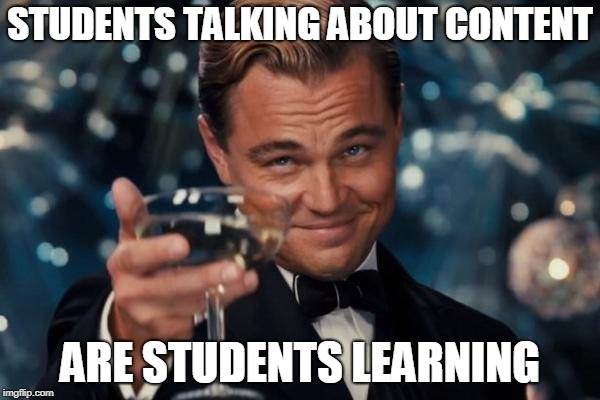
Talking about it helps. Talking about the CONTENT helps us all learn the CONTENT. Teachers can talk less and kids can talk more (about content)

(Shhh. Sitting quietly while we do a worksheet or read or while the teacher talks does NOT help us learn the CONTENT!)

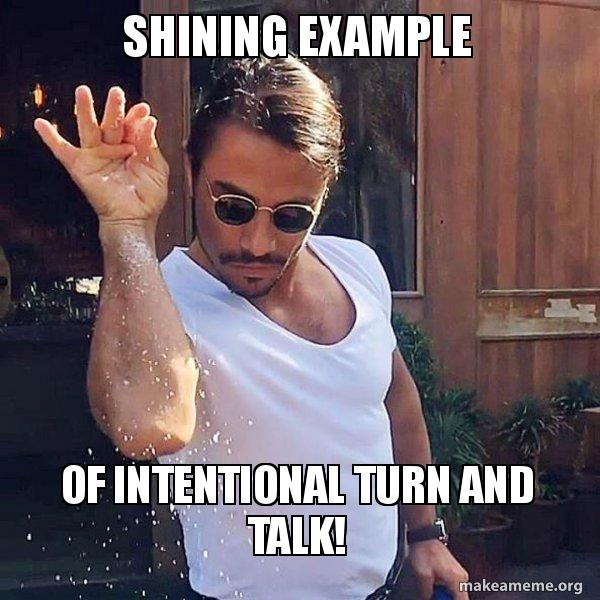
10. Turn and Talk -- It’s a classic for a reason. Because it works, because it’s easy, because it requires little to no planning. Pose a decent, open-ended question to the class. Show them how to physically turn so that they face each other. Have them talk about the question. Teacher should physically walk around the room, listening to the conversations. (It’s not eavesdropping if it’s in your classroom!). Teacher should share what they heard from students. And if the kids struggle? Model it in the front of the room with a willing volunteer or another adult. Show them what it looks like. Sometimes, they’re not sure you’re serious about it. Be for real about all of it -- the turning part, the talking part, the “on-topic” part, the sharing what you heard part! 

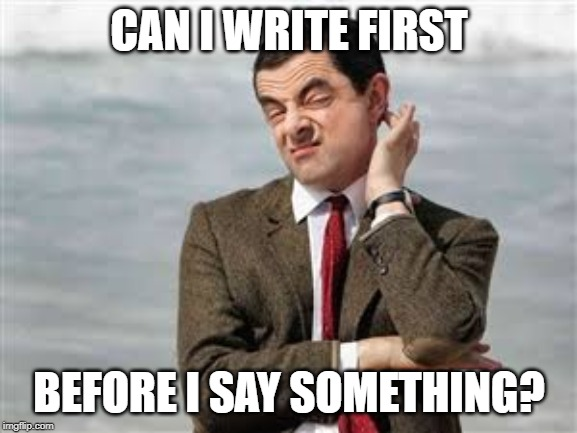
9. Make them write it first (white board?). Sometimes, kids don’t know what to say. They don’t know what to think about content right off the bat. Sometimes, they need a little processing time. Just like they get scratch paper in math, it’s ok to let them jot down a thought or two in your class before they say it out loud. Whiteboards are brilliant for this, because they allow kids to erase every scrap of evidence that they ever had an answer or an idea that they suddenly feel is “dumb” or “wrong” or that they wouldn’t want their peers or teachers seeing. So give them a minute to get their thoughts together before sharing their words. 

8. THINK -- then pair, share -- How many of you have done a “Think/Pair/Share” -- but really cheated the “think” part? I have! Ten seconds is not enough think time, Tracy!  Make sure to give kids the THINK time before they Pair and Share. It honestly makes a difference in their conversations and in their understanding of content. 
7. Debate it -- Teenagers love to argue. It’s developmentally appropriate (not to mention bolstered by social media and election season). So give them a great question and as much or as little structure as a particular class needs and let them verbally duke it out. Nothing is more fun than arguing! Kids will suddenly care about stuff they didn’t care about before. Do you have a particularly boring unit or piece of text? Ask about the “best” or “most important” or “most significant” part and voila! Suddenly that boring topic is fun! And kids are talking! And engaged! And thinking and learning! 

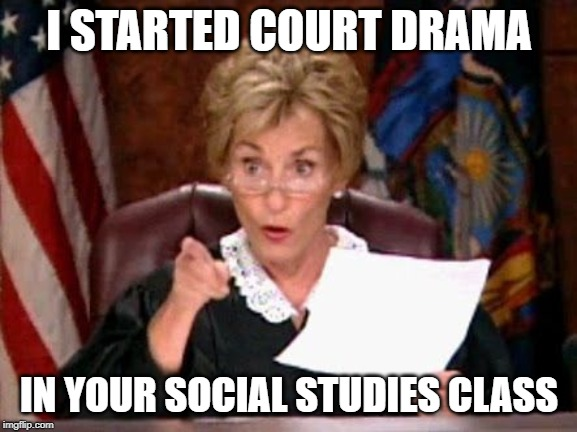
6.Make it a court case --  Have kids argue famous court cases so they have to think about both sides of an issue. Whether it’s Marbury vs. Madison or the Trial of Socrates, it’s helpful for kids to see the arguments for and against a side and have to talk those out. 


5. Give them an interesting conversation topic --  I’ll be honest. Half the time a student conversation activity fell flat was because I had a not-so-hot conversation topic. Make kids pick the “best” or “should they?” or “most important” or “if you were” (but never about slavery or the holocaust!). Make them relate it to their lives or to something else they know or learned about. Make it interesting enough that it piques their interest.

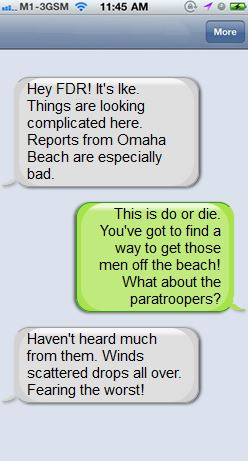
4. Social Media -- Have them type/write it like a social media thread. There’s nothing like a Fakebook Post or a back-and-forth text-looking conversation to get kids involved in a way they prefer to communicate anyway Don’t judge them because they communicate differently than we old-grown-ups. Run with their strengths. Or, have them START with their strengths on fake social media/texts (try https://ifaketextmessage.com/ and then continue the conversation out loud

3. Sentence Starters/Historical Talking Tools -- Sometimes, kids don’t know what to say. Or, they don’t know where to begin. Or, they know what to say in a kid-way, but not in an academic way. Enter, sentence-starters or Historical Talking Tools! Start them off so that instead of saying “you’re stupid!” or “no! You're wrong!” they say “I disagree with you because...” or “Although you say __, I believe __”


2. Silent Conversation -- Put a quote or a short piece of text or a political cartoon on a piece of paper. And put that same piece of paper in front of every kid, but the kids are in groups of 3-4. And give each kid 1-2 minutes to write to respond to that quote/text/cartoon. Then, within the groups, have them pass the papers around to another group member and each kid will respond to what the previous group member wrote. Then, the pass it again to another member of their group, read what the previous two wrote, and add to that conversation. And another time (if you have 4 kids in a group). It’s brilliant for getting kids to dig deep into a great quote/text/cartoon and to have conversation with each other in a way you can structure and monitor. 


1.Model it -- Kids don’t always know how to collaborate effectively. So SHOW THEM! Literally, act it out in front of them and model it. The more explicitly you show them what you want, the more they “get it”. Modelling is a great way to help them get better at what you want them to do, the way you want them to do it. 

Non-negotiables -- These things are non-negotiable when it comes to student collaboration. 
  • Walk around and monitor their conversations by joining in. As kids talk, teachers can’t sit back. Teachers need to be monitoring and listening to every student conversation. And it's ok to join in conversation with the kids so you can ask them probing questions. 
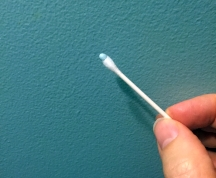
  • Raised hands is NOT student talk. Having kids raise their hands is STUDENT talk. Studnet, singular. As in one student can talk while the other 28 cannot. So, one kid is thinking about content while the other 28 are thinking about pizza or sports or their crush or whatever. It is the least efficient way to have students talk. It’s like painting your whole house with a q-tip. Least efficient tool for the job. Why wouldn’t you have ALL the kids talk so ALL the kids are thinking and learning?

How do you have kids talk about content? How can you mix it up and do more student-talk about content, more often? As always, I love to hear from you! Email me newmantr@pcsb.org

Tuesday, October 16, 2018

Cut. It. Out.

Doc Strips.

No, this blog hasn’t gone “blue”. This is not about a person named “Doc” who does anything NSFW (not suitable for work). Instead, this is a strategy for digging into a document. It’s not like Chicken Strips.

So, there are a lot of ways to get kids to dig into a historical document. We can use Doc Analysis Sheets, we can use PERSIA, we can do “I See I Think I Wonder”, we can use “Looking 10x2”, and on and on.

Well, here’s another tool for your tool box and it’s great for struggling readers or high achieving readers.

It’s called Document Strips.  And it’s fairly simple to prep for.

Just Cut. It. Out.
The papers, I mean. Cut out the papers.

Strategy: Doc Strips

Why? To get kids to dig further into a text, to pique student curiosity, to help them read more closely.
What? Simply cut your documents into sentence (or phrase) strips. Then, have the kids use context clues to assemble the document back together!

How?  
1.      Choose a document that the kids can tackle (mostly) by themselves. Be sure to define or pre-teach any terms that might give the kids too much struggle. We don’t want them to give up because they come across an indecipherable word.
2.      Then, split the document into sentences (or phrases), one per line. Cut the strips and put each set in an envelope. Try not to give them clues!
3.      Give each group of students (partners work best, but 3s or 4s are ok) an envelope and instruct the groups to try to read the sentences and put them in order.
4.      Go around to the groups and check to see if they got the sentence (or phrase) strips in the correct order. If not, ask them WHY they put the sentences in that order. Often, they will either find their mistakes or they will have compelling evidence that shows solid thinking.

Why would this help? Well, it helps struggling readers to have to dig into the text and work to make sense of what they’re reading. It also helps to slow down your speed readers and keep them really understanding the text (as opposed to the strategy of scanning for answers that many readers have mastered). It also is a little more fun than reading without Doc Strips or than writing. It “looks” easy (even if it isn’t).


Pro Tip:  Keep an “answer key” uncut for yourself  to quickly check answers as you walk around the room.

How do I know if they got it? Have them do a quick formative assessment to check whether they understood the document. Ask them to tweet the doc, hashtag it, summarize it, illustrate it, etc. Let them put what they learned in a different format to show you that they “got it”.

All you have to do is Cut. It. Out.

This is an oldie but a goodie! Do you use it? Will you try it? As always, I love to hear from you! Email me at newmantr@pcsb.org

Tuesday, October 9, 2018

Oh, Crop!


Do you ever show your kids an image, political cartoon, map, chart graph, etc., and find that kids focus on the One Thing in the image and then miss all the “small stuff” and the details?

Oooorrrrr .....

Do you ever find a great image (or map or graph or chart or painting or photo or ....) in your book or somewhere and ask your kids, “Can you look at the small bottom left corner”, “do you see the thing near the top”? “Look at the third column on the graph” ...


And then take 10 minutes trying to get everyone to see what you’re trying to show them?

Oooorrrrrr ....
Do you ever struggle with fitting in multiple perspectives into some lessons?

I like to say,”Oh Crop!” when that happens.
(not really. But it sounds funny)

If you’d like to use more visuals in your class (paintings, sculptures, photographs, maps, charts, graphs, political cartoons, etc.), but you find it annoying and frustrating, check out this “Crop It” strategy!

Here it goes!

What is it? “Crop It” is a hands-on learning routine where teachers pose questions and students use paper cropping tools to deeply explore a visual primary source.

Why Use it?  Life moves pretty fast. We see thousands of images a day and we don’t give many of them more than a second or two of our attention. “Crop It” slows us down to provide time for students to think  and to examine the details that they might otherwise miss. It also helps them “get into the head” of the artist (or creator) of the visual.

Prep:
  1. Choose multiple images for your kids to dig into. Consider some such as:
    1. Various sources like cartoons, propaganda, advertisements, newspaper articles, etc.
    2. Sources that represent multiple perspectives on a topic
    3. Sources depicting the different people, places, events within a unit.
    4. Sources representing perspectives missing from the textbook.
  2. Print enough so that every kid (or pair of kids) have an image and a set of Crop It Tools. Multiple kids can have the same image. You don’t need thirty different images. You can have 5 or 6.
  3. Prepare some higher order thinking questions to accompany the images on the board or screen.

Step One:  Ask kids to choose an image that either:
  1. Connects to an experience they have had
  2. Relates to something they know about
  3. Leaves them with questions
  4. Evokes their curiosity
Step Two: Explore the Image
  1. Pass out two “Crop It” tools to each student.
  2. Demonstrate how to use the “Crop It” tools to focus on a particular piece of a source. Students can make various sizes of triangles, rectangles, and lines of “crop” to focus attention on an important part of the source.
  3. Invite students to carefully explore their image by using the tools. Pose a question and ask students to look carefully and “crop” to show an answer.  Some example questions might include:
    1. Crop to show what first caught your eye. Think: Why did you notice this part?
    2. Crop to show who or what this image is mainly about. Think: Why is this person or thing important?
    3. Crop to a clue where this takes place. Think: What has happened at this place?
    4. Invite kids to use divergent thinking. Where ELSE could you crop to answer the question?
4. Let kids look at other students’ crops, to see what their images showed and what they focused on.


Step Three: Collect evidence.
  1. Collect evidence that students cropped on the board or on chart paper by asking them recall the details they cropped and list that evidence. These charts encourage students to notice details that can be used later.
  2. Relate the evidence back to your Learning Goal (benchmark) or LEarning targets or Essential Questions.

Be careful of ...
  • Asking too many questions during Step Two, Keep it moving quickly so kids don’t get off  task and so they stay focused on their primary source.

What do you think? Is it worth a try?  Do you have enough copies left this month to make a class set of “crop it” tools? Remember -- download them from here and make copies https://www.teachinghistory.org/sites/default/files/2018-08/crop_it_tools.pdf


Wednesday, September 5, 2018

I need to process this

How do people learn? That’s a pretty central question in our line of work.

Sometimes we-as-teachers swear that we taught “The Things” but somehow the kids seem to have No Memory of “The Things” half the time!

Sometimes it looks like the kids are learning -- all quiet, hunched over their papers, writing stuff down -- but really that information went in one ear and out the other.

Sometimes you KNOW that they learned “The Other Thing” -- last year, last week, last period -- but your kids look at you like your’re speaking Hobbitish or Parseltongue when you mention it.

I recently read a quote by a superstar reading coach, Enrique Puig, which said, “New learning is a by-product of social interaction and personal reflection”.

Let’s break that down for a sec.
New Learning -- meaning learning new things, not reviewing old stuff
By-product -- happens as a secondary result. Not the MAIN purpose.
Social Interaction -- the way people talk and act with each other
Personal Reflection -- a written response to a particular stimulus involving self-examination.

So, if we put that back together, it says “new learning happens when we talk together or engage in self examination

It does NOT say that new learning occurs when we:
  • Write the right answers on paper
  • Copy the definitions
  • Listen to the teacher talk
  • Daydream
  • Stare at the book

Yes, processing is a real, and often neglected part of learning. It works like this.
  1. We input info into people’s brains through reading, listening, watching, looking, experiencing.
  2. Kids (and adults) have to process this info in order to make meaning of it, in order for it to “stick”, to make it into longer-term memory.
  3. People have to USE that info in some sort of output, like writing or speaking, multiple times.
And that’s an overly-simplified way of examining the learning process.  

So, today, I ask that you examine those three parts.
  1. How do students input information into their brains?
  2. How do students process information?
  3. How do people output the information multiple times?

And can we pay particular attention to #2? Let’s go back to the quote from earlier: “New learning is a by-product of social interaction and personal reflection”  

He’s really discussing the role of processing in learning. Namely, that in order to process information (to move it from short term memory to long term memory) that we have to either 1) Talk it out or 2) reflect using self-examination.

I’m not going to assume that I can visually observe that second one, 2) reflect using self-examination. That happens internally, so it’s hard to see. Maybe students can reflect in writing.

What I can SEE and HEAR is student conversation. Collaboration. Interaction.

Guess what? It’s really hard to know if students are processing content WITHOUT having lots of student conversation.

So try this: try building in time for student interaction -- ABOUT CONTENT. If they’re actually talking about content, then they SHOULD learn more and retain it better. You can just do turn and talks, socratic seminars, debates, small-group discussions, silent conversations, or any number or conversational strategies.


But. Get. Kids. Talking. To. Each. Other. About. Content.

Every day. And they will learn and retain the content better.

Try it. I triple-dog-dare you!

As always, if you need help, ideas, or more info, please email me! newmantr@pcsb.org